The Dos and Don’ts of Macarons
In the hellfire that was 2020, I dedicated a significant portion of myself into baking. Before 2020, my super-duper-extensive knowledge of baking consisted of following those cute little recipes on the back of Betty Crocker boxes and bags of Tollhouse chocolate chips. All of that changed on March 18th when I created my first original recipe for Froggy Bread. It was warm, fluffy, crusty bread in the shape of a frog, and from there I fell down the rabbit-hole of baked goods. Heart shaped strawberry cheesecake pastry bites, Covid cake-pops, uterus cakes galore. You name it, I probably spent 4-8 hours in my kitchen obsessing over it. The one baked good that grabbed my attention most of all was macarons.
Once I fell down the twisting gyre of baking, my love for The Great British Baking Show quickly followed. I watched every season, shedding tears over soggy bottoms and stodgy cakes, with an incredible amount of interest. The one thing I noticed, however, was that everyone in Europe apparently knew how to make macarons. This surprised me, of course, as I was led to believe that making macarons was akin to sawing off your own arm with a rusty blade (in short, very difficult and painful). I asked myself, “How does everyone in this posh little show know how to make macarons, and how do they do it so easily?!”
If you have little to no baking knowledge, you might not know just how painstakingly difficult it is to get macarons perfect. Often they come out of the oven cracked or with wrinkled tops, completely hollow, burnt, or downright unchewable. Macarons are finicky as all hell, and really difficult to make right. And as a perfectionist I decided I was going to make macarons, but not just make them right, make them perfect.
I’ve been through dozens of recipes, hundreds of failed macarons, and an incredible amount of almond flour. It’s HARD, but it’s not impossible. So without further ado, here’s my recipe for the perfect macaron.
Things to know ahead of time:
DO NOT under any circumstances, turn on your dishwasher or clean your dishes while baking macarons. The level of humidity in your kitchen is absolutely vital to whether or not your macarons come out correct and consistent. I know, it pains me too to sit in a dirty kitchen, but this is very important.
Clean out your meringue bowl with white vinegar or lemon juice! This will get rid of any lingering fats from butter or oils in your bowl and assure you that your meringue will stay stiff!
Egg whites should be aged and room temperature. Aged egg whites come in cartons from any grocery store and assure that you get an exact measurement. I pour my egg whites into a bowl, and then place that bowl in a separate bowl of warm water. Egg whites should be room temperature in about five minutes. Room temperature egg whites are easier to whip into a meringue.
Cream of tartar is incredibly important to making sure your macarons rise and have the right consistency, so make sure not to skip this step!
Be careful not to add too much liquid into your meringue! This means to be wary of adding too much food coloring or flavoring. If this is your first time making macarons I recommend adding only a few drops, or none at all. It’s good to get the technique down first before you start trying out new things like colors, shapes, sizes, or flavorings.
I use a stand mixer, but a hand mixer works too. It’ll take much longer to create a stiff meringue using a hand mixer but the results should be basically the same.
This recipe works for me but may not work for you, and it’s important to know that it takes practice! Macarons are all about feel, and you may not have it your first go. However, as an amateur baker I can make these with plenty of ease, and I’m sure you can too!
Tools you MUST have:
A silicon baking mat– these are vital to making sure your macarons rise correctly, and come off the sheet with ease. I’ve tried parchment paper and it just doesn’t work the same.
A sifter– this is an absolute must, you can’t have the perfect macaron without perfectly sifted flour!
A rubber spatula– I love these rubber spatulas, and you will too! They are perfect for getting the right consistency of batter.
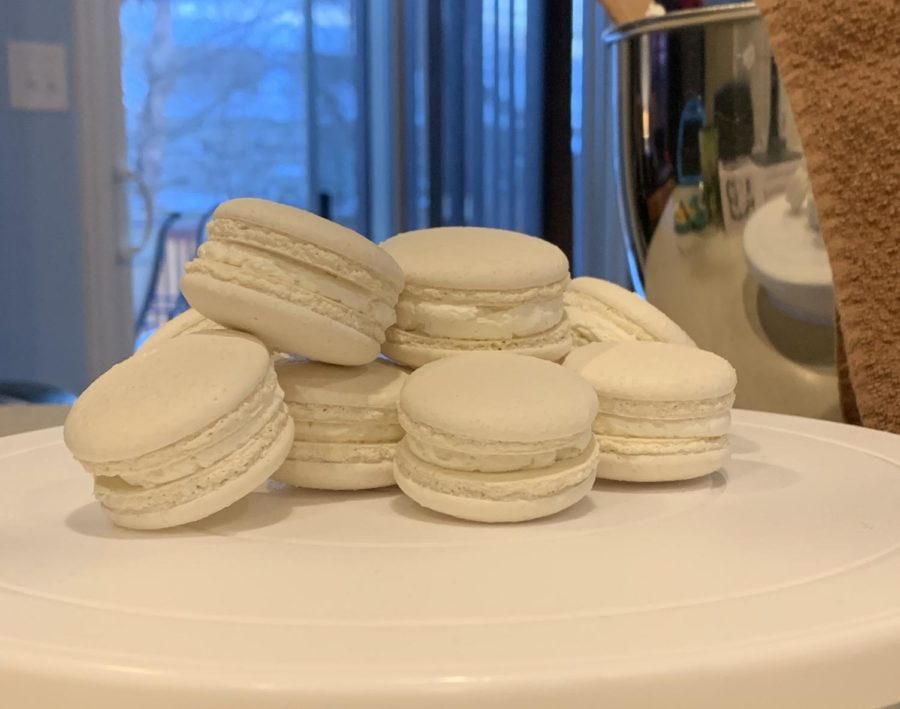
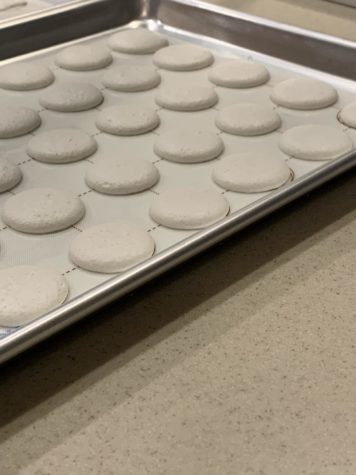
How they’re supposed to be:
There are a lot of things a macaron can be, and only a few that they should be. Your macarons should be light and chewy, a little on the soft side. If they’re hard maybe they just need to mature, or maybe your oven’s temperature was too much on the hot side. The oven temperature can vary based on the make and model of your oven, so the temperature might be based on trial and error.
The perfect rise to a macaron will have feet, these will be little bubbly bits at the bottom. Your feet should be even if you had an even rise.
The tops should be mostly smooth. There will be discrepancies here and there, but mostly smooth.
The recipe is provided below! The how-to video is available below as well!
 Recipe:
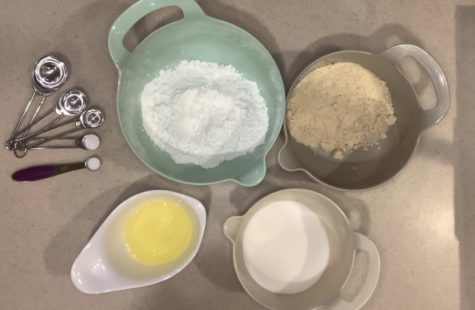
Almond Flour- 140g
Powdered Sugar- 130g
Egg whites- 100g
Cream of Tartar- ¼ tsp
Salt- ¼ tsp
Granulated sugar- 100g
Vanilla/Flavoring*- ½ tsp
Food Coloring*- A few drops
White Vinegar/ Lemon Juice- 1 tbsp
*Optional
Method:
-In a bowl, sift together powdered sugar and almond flour. I sift this mixture 4-5 times. It seems like overkill but it is important your dry ingredients have NO lumps.
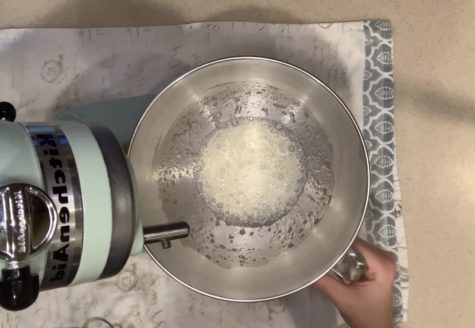
-In a stand mixer, pour room temperature egg whites into a separate bowl with cream of tartar and salt. Whip egg whites until bubbly. This is the bowl that should be cleaned with white vinegar.
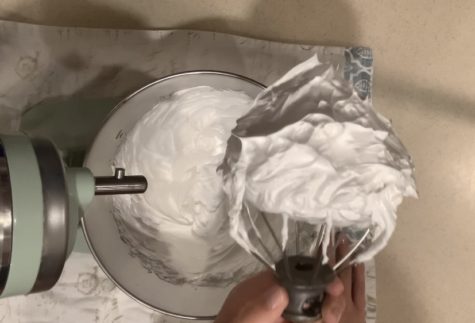
-Then GRADUALLY, over the course of a few minutes, add your granulated sugar into your egg white mixture. Mix on high until stiff peaks form. Your mixture should be a bright white. You know your meringue is ready if you can hold the bowl upside down over your head, and no mixture falls out. Trust me, it won’t if it’s ready. If you mix more than necessary, you’ll kill the precious air bubbles you’ve created, and your meringue won’t rise.
-Slowly add your flour mixture into your meringue, hand mixing with a spatula. You should do this until the batter falls off of your spatula in ribbons, or once you can create a figure 8 without the batter breaking. Normally for me, this is about 120 strokes. (Yes, I’m crazy and I count them).
-Immediately after you finish mixing, add your batter into your piping bag. Pipe small circles onto the baking sheet.
-Here’s the fun part: you’re going to take your tray and SLAM it against your counter or table. I do this 5-6 times, or until visible air bubbles go away. It’ll be loud, but fun.
-Now take a toothpick and pop out any air bubbles you see. If you skip this step your macarons will be hollow.
-Leave the macarons to dry for 45 minutes to 1 hour. It honestly doesn’t matter if they are drying for more than that, as long as they are at room temperature. This step is tempting to skip (I used to too) but is necessary for your macarons to develop feet.
-While the macarons are almost done drying, preheat your oven to 300 degrees. Once preheated, put your macarons into the oven. After 8 minutes, take your baking sheet and turn it around (a 180 degree turn). Let bake for the remaining time.
-Let macarons cool before you touch them or attempt to remove them from the baking sheet.
-While cooling, make your buttercream, ganache, or jam that you will use to fill your macarons.
-Pipe your filling and sandwich the two cookies together. Allow them to mature before serving (8-24 hours). You can eat them now, but they may be a little hard.
So, how did yours turn out? Leave a comment below if you used this recipe, and don’t worry if they don’t come out perfect on your first attempt, or your second attempt, or even your sixth attempt. These suckers are hard to do right, even if you’re following the perfect recipe.

Meadow Stanley is a Senior at Carver Center for the Arts and Technology, specializing in Literary. She is a senior editor for her school’s...


Isa Vidal • Feb 16, 2022 at 1:41 pm
this is such a wonderful article, and even though I would never have the patience to make these, I applaud the fact that you are out here making baking easier for others.